
I finished my cross-stitch Celtic knot tin topper this week just in time for St. Patrick’s Day. The Celtic knot was from a free cross-stitch pattern that I designed and posted on the blog a couple weeks ago. You can find it here.
Sunday night I spent tracing and cutting mat board and pieces of batting for finishing tin toppers. I use the bottom of the Altoids tin for tracing the shapes to get the right size. I led a little mini demonstration of how I do the finishing on Monday night for one of my local embroidery guilds. Here is my stack of mat board and batting pieces along with my stitched Celtic knot and a couple of tins:
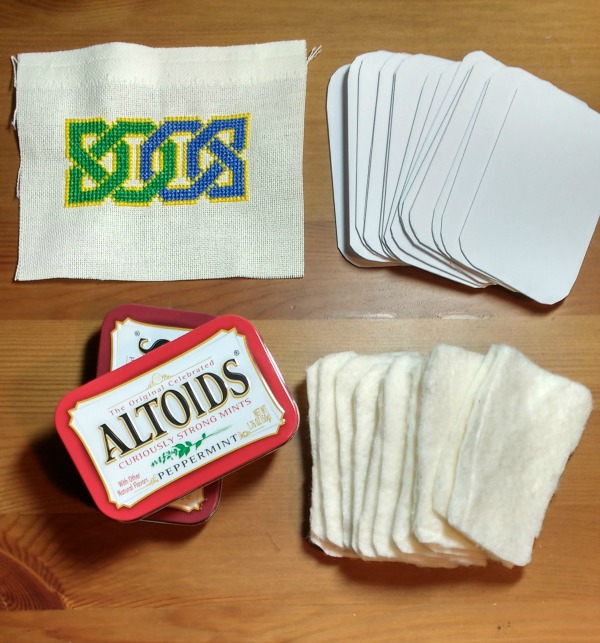
I ended up cutting way too many pieces of mat board, so I was able to give some people extras who had more than one tin they wanted to finish.
When I do any kind of flat-backed finishing, I use regular craft glue and all-purpose sewing thread for the finishing. First I lightly glue the batting to the mat board. Then I trim the stitched piece so it fits over the mat board and the batting without too much extra fabric around the back. Next, I use the sewing thread to lace two sides of the stitched piece to the mat board. Finally, I fold down the corners of the stitched piece and use the craft glue to keep the corners in place.
For finishing tin toppers, I also use the industrial-strength E6000 glue to glue the stitched item and any embellishments to the tin itself. Here is my photo of these essential finishing supplies:

Monday night I glued the finished Celtic knot to the top of the tin. When I got home, I placed a couple of heavy books on top of the tin and let the glue dry and set overnight.
But, gluing the stitched item to the tin is just the start. Then you can have fun with it and add any additional embellishments you like to your tin. Here are a few things I pulled out of my stash as possibilities:
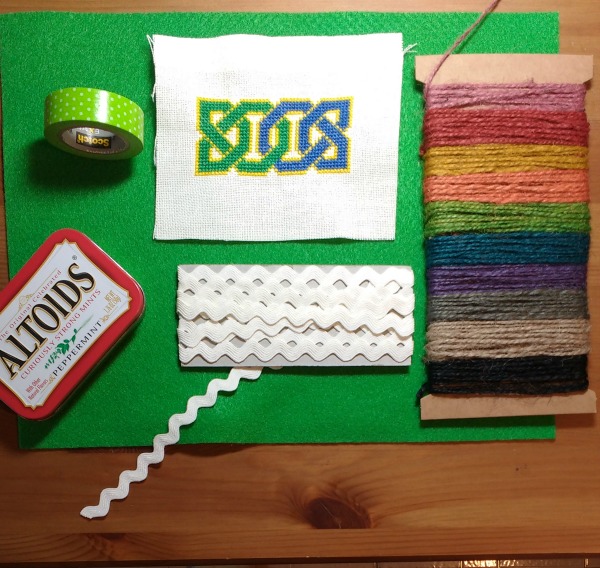
I took this photo prior to the guild meeting, so the Celtic knot is not attached to the mat board and batting yet. But, I pulled out some rick rack, colored hemp twine, washi tape and green felt for some ideas for finishing the tin.
And, here is the completed tin:
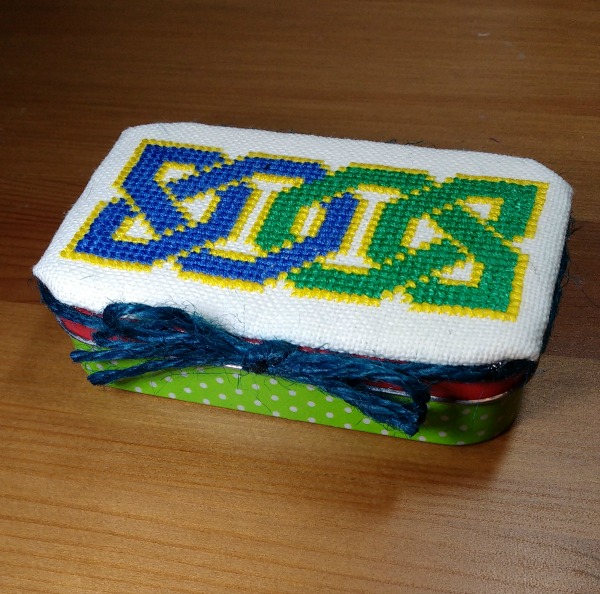
I may add some additional decoration to the inside of the tin, but otherwise I am pretty happy with how it turned out.


This is a perfect little box for storing your lucky shamrock! Happy St Patrick’s Day :)
Very cute finish for some special treasures.
Thank you! :)