
Hold on because this is going to be an image-heavy post. I finished my pinch purse this week.

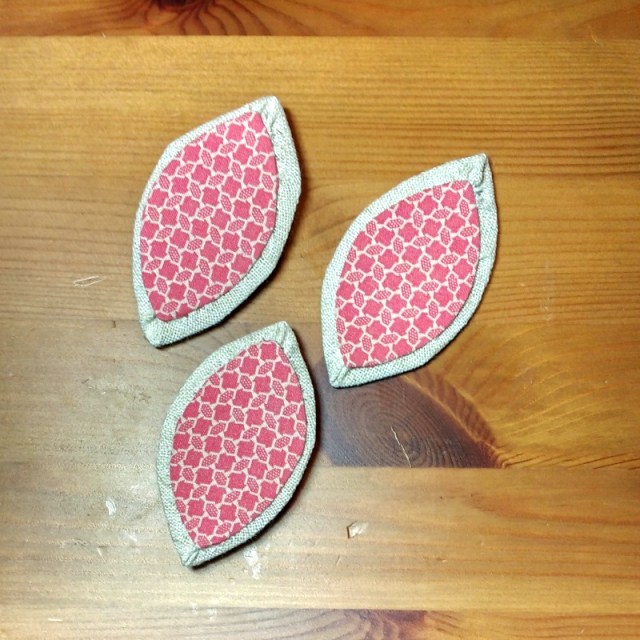
After I finished stitching the little ribbon embroidery motifs, I had to cut out the fabric pieces. Then I had to cover the plastic template pieces for the sides with the fabric. You can see those template pieces here. I also added a layer of batting between the fabric and the plastic template for the outer sides. You can see the batting pieces and the fabric I chose for the inner lining here.
So, now I had all of the pieces. I covered the smaller inner lining plastic templates with the pink fabric and the outer templates with the needlework fabric with the ribbon embroidery for the two outer sides. Then I had to handstitch the inner lining pieces to the outer pieces using a ladder stitch. This was the biggest pain-in-the-rear part. My inner template pieces were a little too small. If I do this again, I will make sure the size difference between the inner and outer pieces is not as great. But, I stitched all the pieces together and ended up with this:
The inner lining pieces have been stitched to the outer sides above. Below is what the outer sides now look like with the ribbon embroidery:

Once all the sides were stitched together, the final step was to assemble and sew the sides to form the actual pinch purse. I ended up grabbing some leftover DMC #5 perle cotton to use to stitch the final step. (In fact, I think it was leftover from last year’s challenge project — the Liberty Stars counted canvaswork piece I stitched.)
This final step stitched up really quickly. I just used a whip stitch to stitch up the sides of the purse. Suddenly I was done in almost no time at all.
And, here are a couple photos of the finished pinch purse:

Blue roses above and pink roses below:

And, since photos don’t really do it justice, I also made this short little video to demonstrate the pinch purse:
My little pinch purse turned out a tad wonky, but overall I’m very happy with it. I enjoyed the process, and I learned a great deal from the project. And, I would make more of these!


I am not sure what the reason was, but the tutorial was marked that it could not be viewed because it was a private video. Maybe some setting on my computer needs to be reset. But it certainly is a clever idea and quite pretty. Thank you.
Thanks for letting me know about the video issue! I have changed the video status to public, so I hope it shows up now! :)
This is so lovely! Very cleverly completed, thanks for such a detailed tutorial.
The pinch purse is so clever, I think they would make lovely gift boxes for Christmas. Sorry to mention the C word so early in the year – but when making hand made gifts you can never be too early.
Ha, I agree. My mother has already hinted that she wants a pinch purse as a gift now!